Auto Purchase Orders logo Auto Purchase Orders
Help Center / Integrations

QuickBooks


Sync your purchase orders to QuickBooks Online to keep your accounting records up to date. You can create Bills or Purchase Orders in QuickBooks automatically or with one click.

In this guide


Connect your QuickBooks account

Before you can sync purchase orders, connect your QuickBooks Online account.

  1. From your app, go to Settings > Integrations.
  2. In the QuickBooks section, click Connect.
  3. Sign in to your QuickBooks account and authorize the connection.
  4. Select the QuickBooks company you want to connect.

After connecting, you’ll see the QuickBooks settings panel where you can configure how syncing works.


Configure sync settings

Sync mode

Choose what type of record to create in QuickBooks:

ModeDescription
Create as BillCreates a Bill in QuickBooks. Bills post to your books and create a liability.
Create as Purchase OrderCreates a Purchase Order in QuickBooks. POs are non-posting and track intended purchases.

Account

Select the expense account where products will be recorded. This is required before you can sync purchase orders.

Transaction date

Choose which date appears on the QuickBooks record:

  • PO created date — Uses the date when the purchase order was created
  • PO completed date — Uses the date when the purchase order was marked as completed

Private note

Choose what content appears in the private note field in QuickBooks:

  • PO number — Includes the purchase order number
  • PO comment — Includes any comment added to the purchase order

Sync PO number as DocNumber

Turn this on to use your purchase order number as the document reference number in QuickBooks. This makes it easier to find and match records between systems.

QuickBooks limits document numbers to 21 characters. If your PO number is longer, it will be shortened.


Sync a purchase order manually

After configuring your settings, you can sync individual purchase orders to QuickBooks.

  1. Open the purchase order you want to sync.
  2. Find the QuickBooks card on the page.
  3. Click Create as Bill or Create as Purchase Order (depending on your sync mode setting).
PO syncs to QB

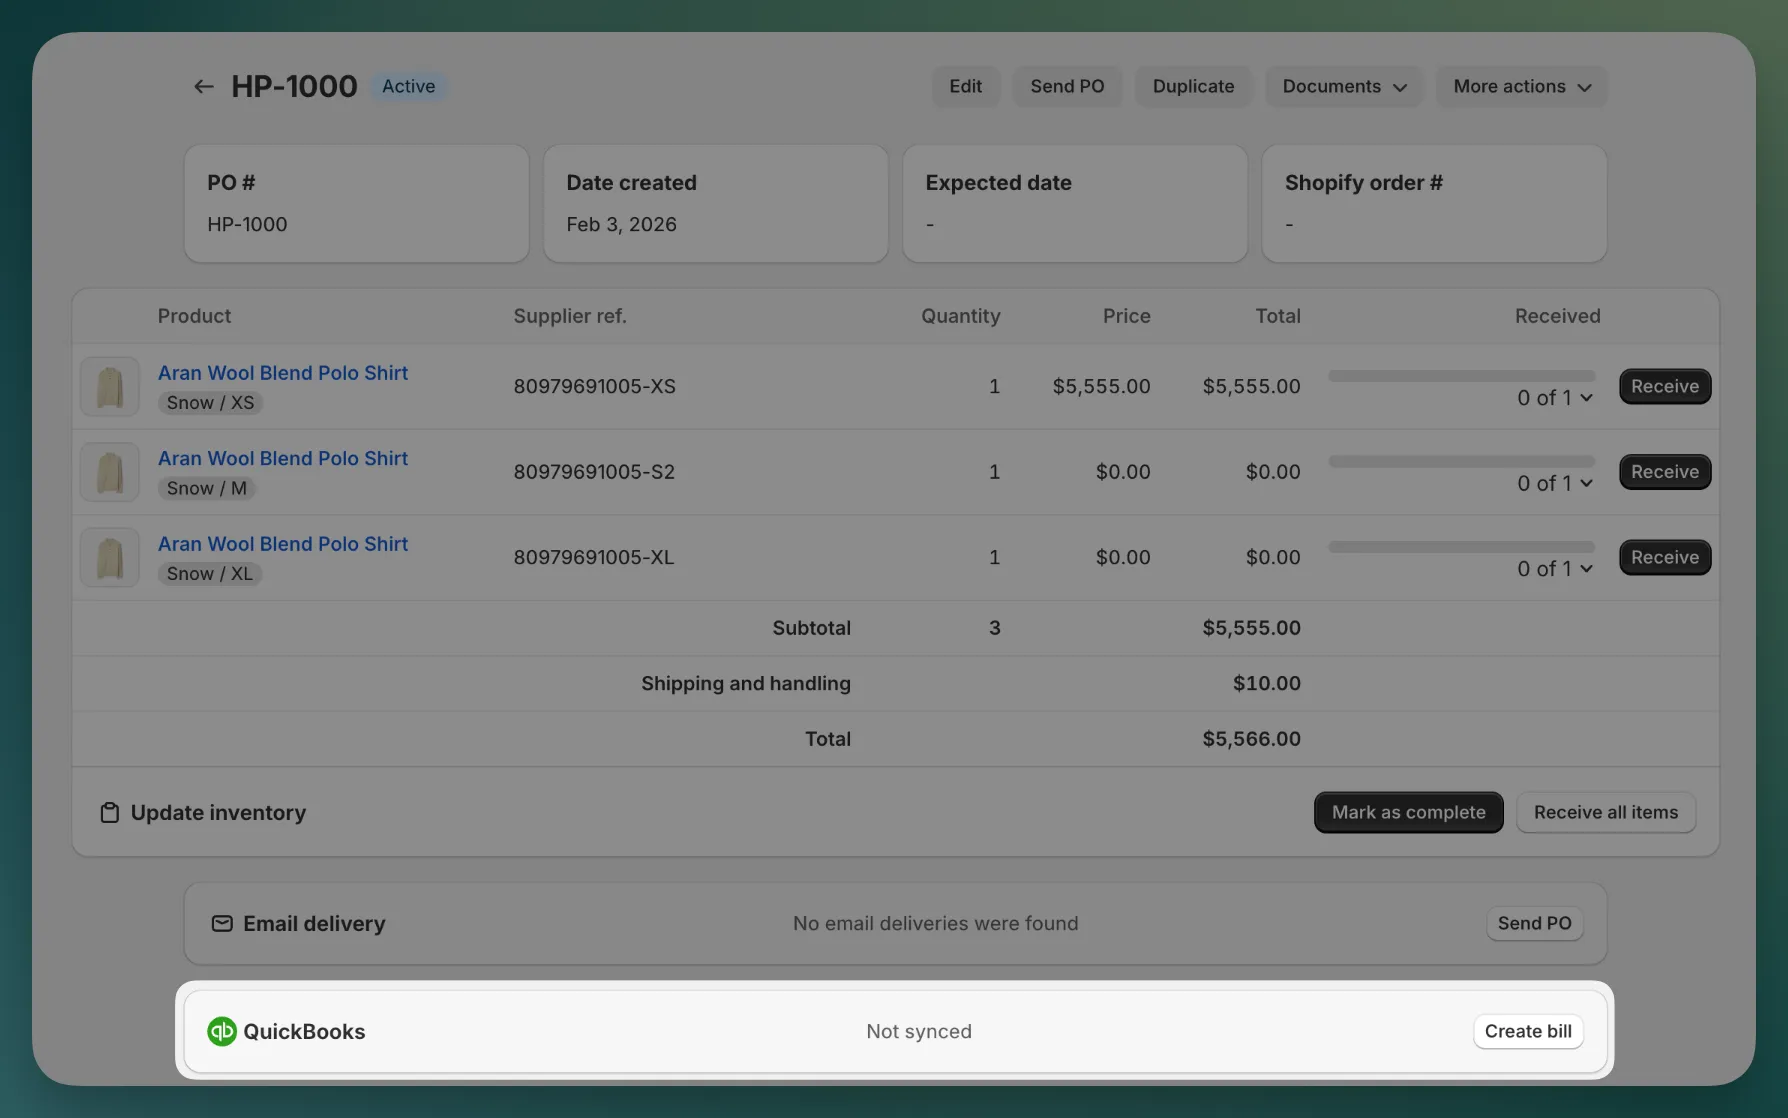
The sync status updates to show the record was created in QuickBooks. You can also see this event in the purchase order’s timeline.

If your transaction date is set to “PO completed date”, the purchase order must be completed before you can sync it manually.


Set up automatic syncing

Save time by automatically syncing purchase orders to QuickBooks.

  1. Go to Settings > Integrations > QuickBooks.
  2. Turn on Automatic sync.
  3. Choose when syncing should happen:
Trigger eventWhen it syncs
On PO creationImmediately when a purchase order is created
On PO completionWhen a purchase order is marked as completed
  1. Click Save settings.

With automatic sync enabled, new purchase orders sync to QuickBooks without any manual steps. You’ll see the sync recorded in each purchase order’s timeline.


What gets synced

When you sync a purchase order, the following information is sent to QuickBooks:

  • Vendor — Matched by supplier name. If the vendor doesn’t exist in QuickBooks, it’s created automatically.
  • Line items — Each product in the purchase order becomes a line item.
  • Amounts — Product costs, quantities, and totals.
  • Shipping — Shipping and handling costs appear as a separate line item.
  • Discounts — Any discounts are included.
  • Currency — The purchase order’s currency is preserved.
  • Date — Based on your transaction date setting.
  • Notes — Based on your private note setting.

Troubleshooting

Purchase order won’t sync

  • Check your settings — Make sure you’ve selected an expense account.
  • Check the transaction date setting — If set to “PO completed date”, the purchase order must be completed first.
  • Already synced — Each purchase order can only be synced once. Check if it was previously synced.

Auto Purchase Orders logo
Auto Purchase Orders
Designed, built, and backed by Magic Bits
Dan
Written by Dan
Published on