In this guide, we will cover how to display custom attributes (also known as note attributes).
First, make sure that your Shopify orders have note attributes.
You can verify this by opening a Shopify order and checking the “Notes” card, as shown in the screenshot.
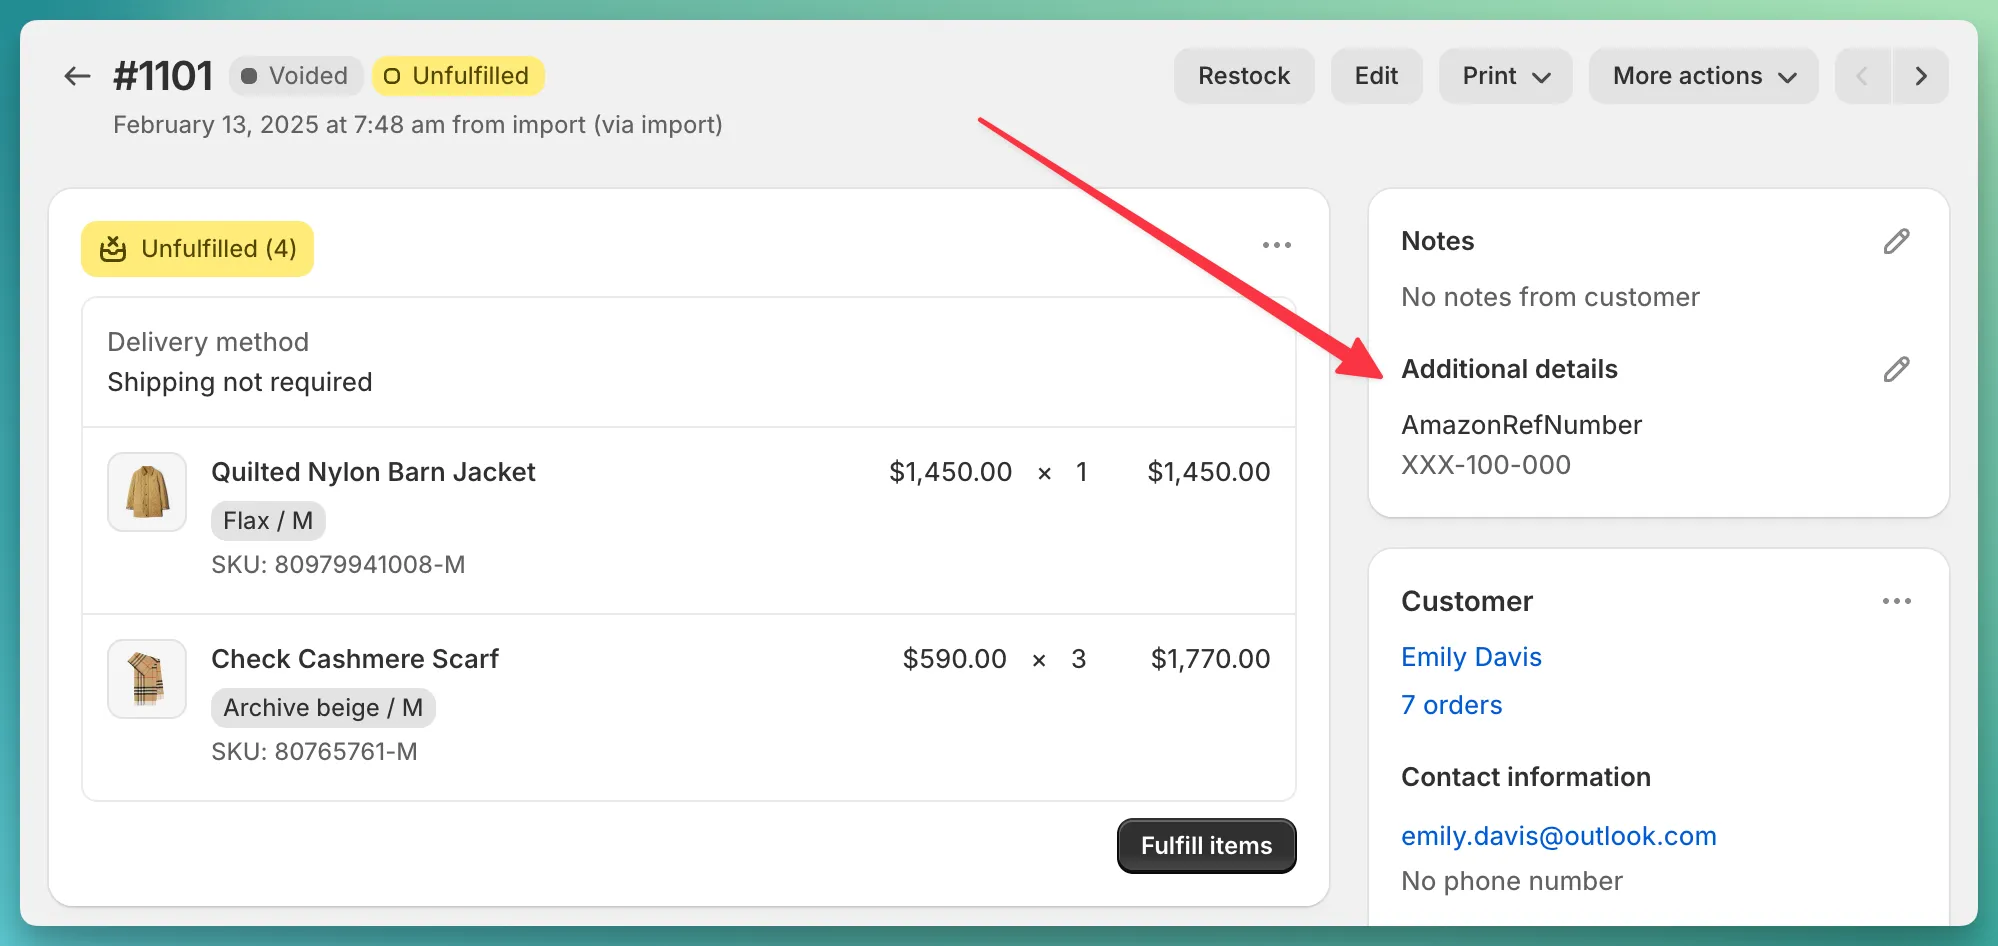
In my case, I have one custom attribute with the name AmazonRefNumber and the value XXX-100-000.
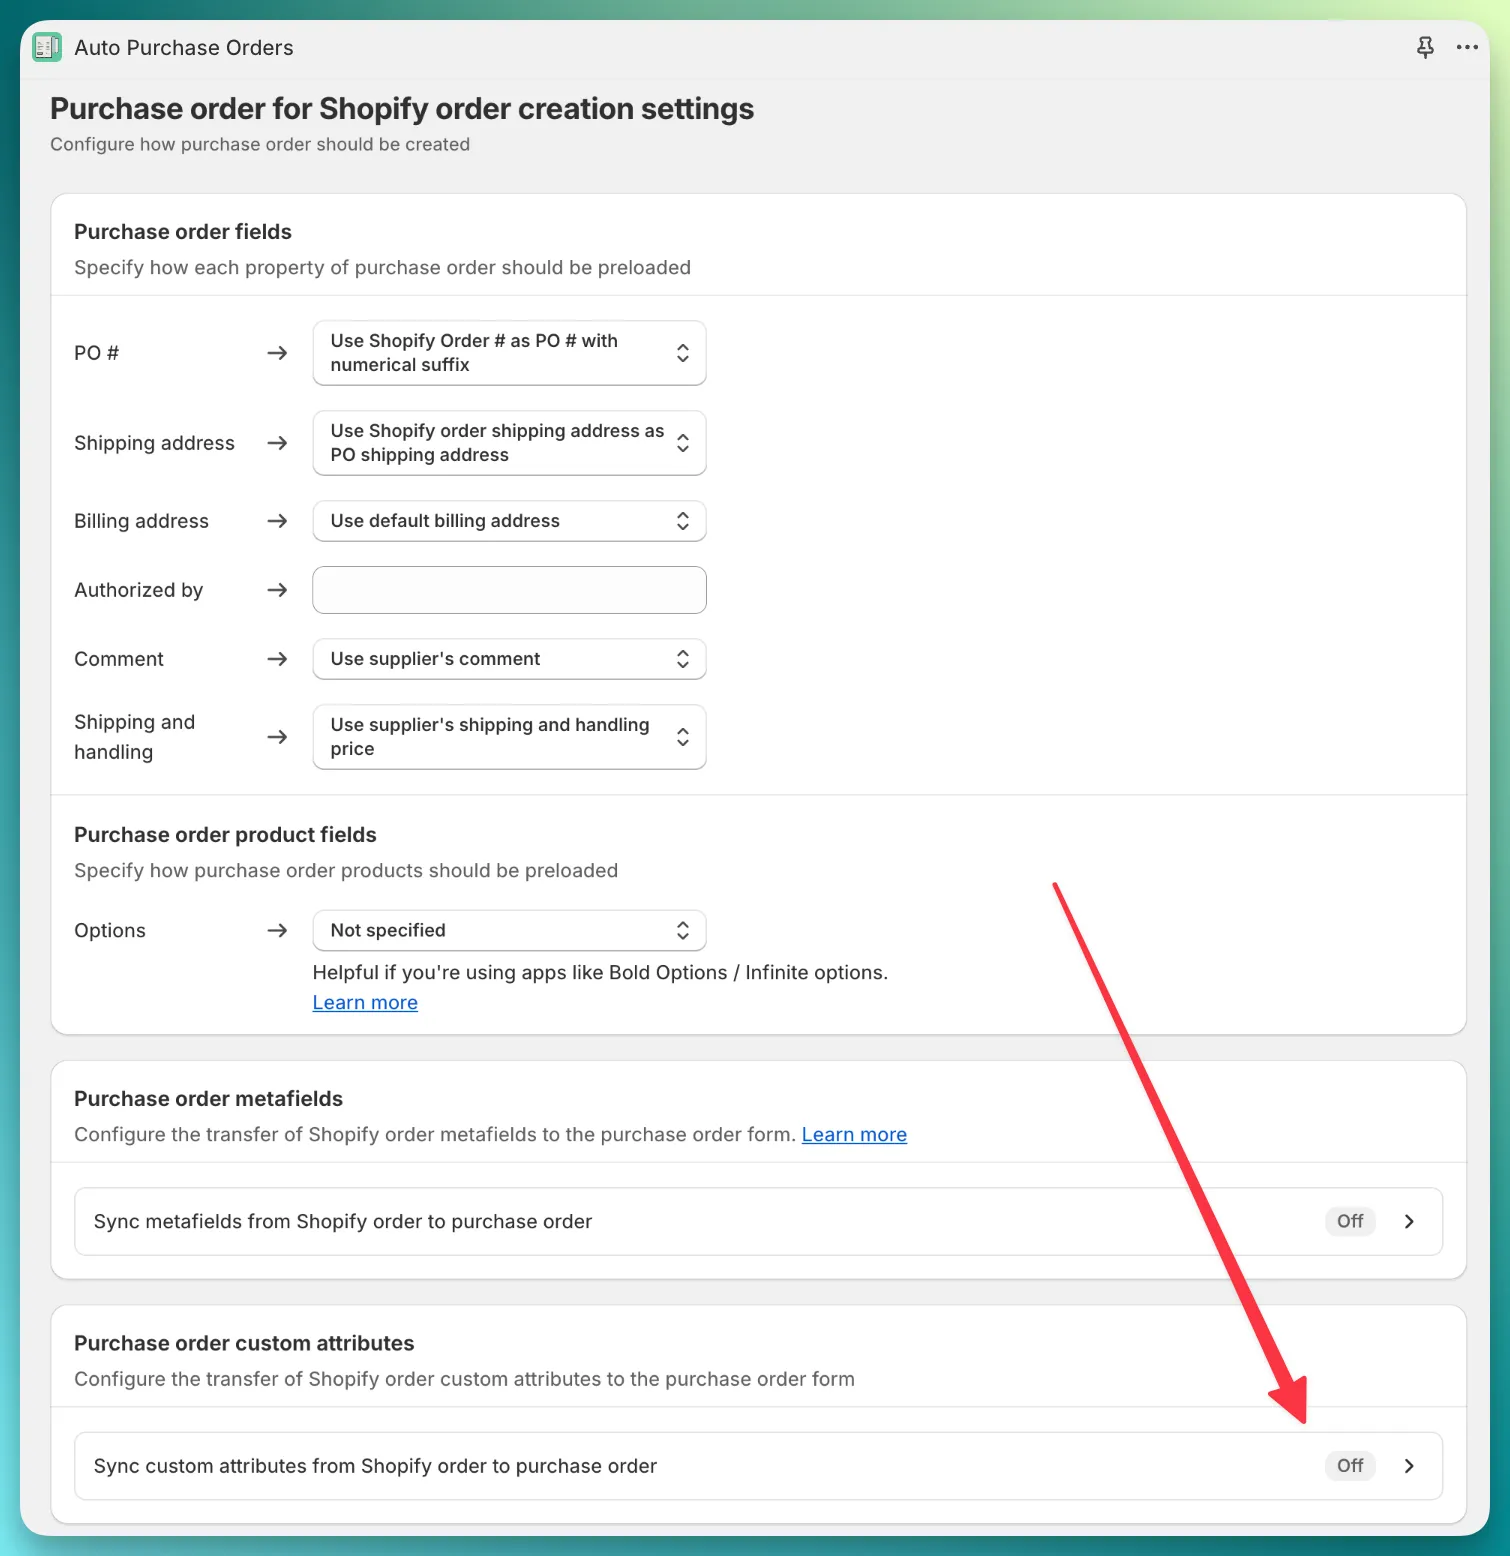
Open the app and go to Settings > General, then scroll down to Configure how a purchase order for a Shopify order should be created and click Customize.
If you can’t find the PO configuration page, you can check out this guide.
When adding a custom attribute, you must specify the following fields
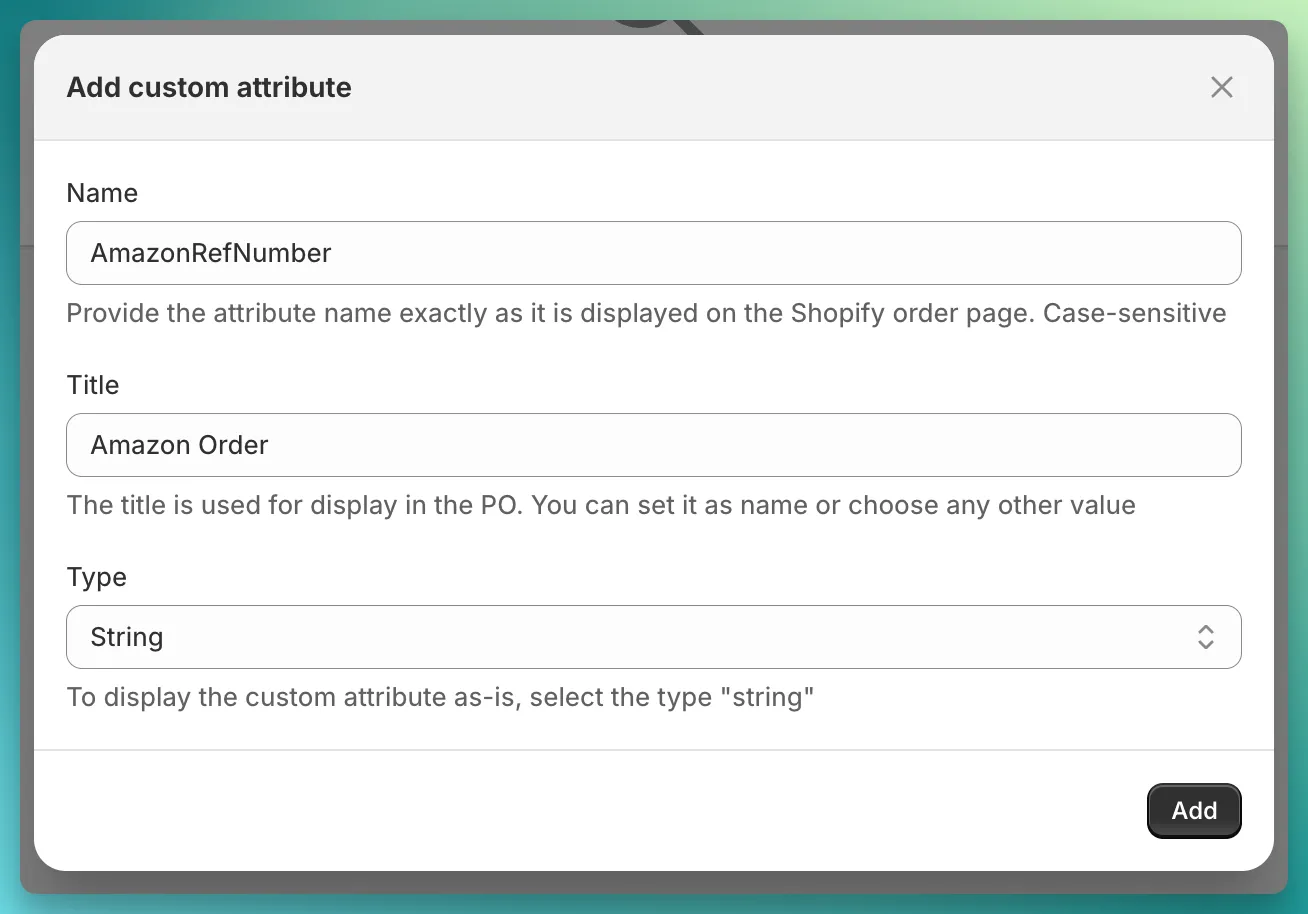
Name – this is the original name from Shopify. This field is case-sensitive, and you should provide the value exactly as it appears in Shopify. In my case, it is AmazonRefNumber.Title – since the name is an internal field (e.g., it contains underscores or, as in our case, has no spaces), we can override how it will be displayed in the PO.Type – if you want to display the value as-is, without any formatting, select String. If you need custom formatting, please reach out to our support team.Go to the Orders page in the app and click Create PO next to the Shopify order.
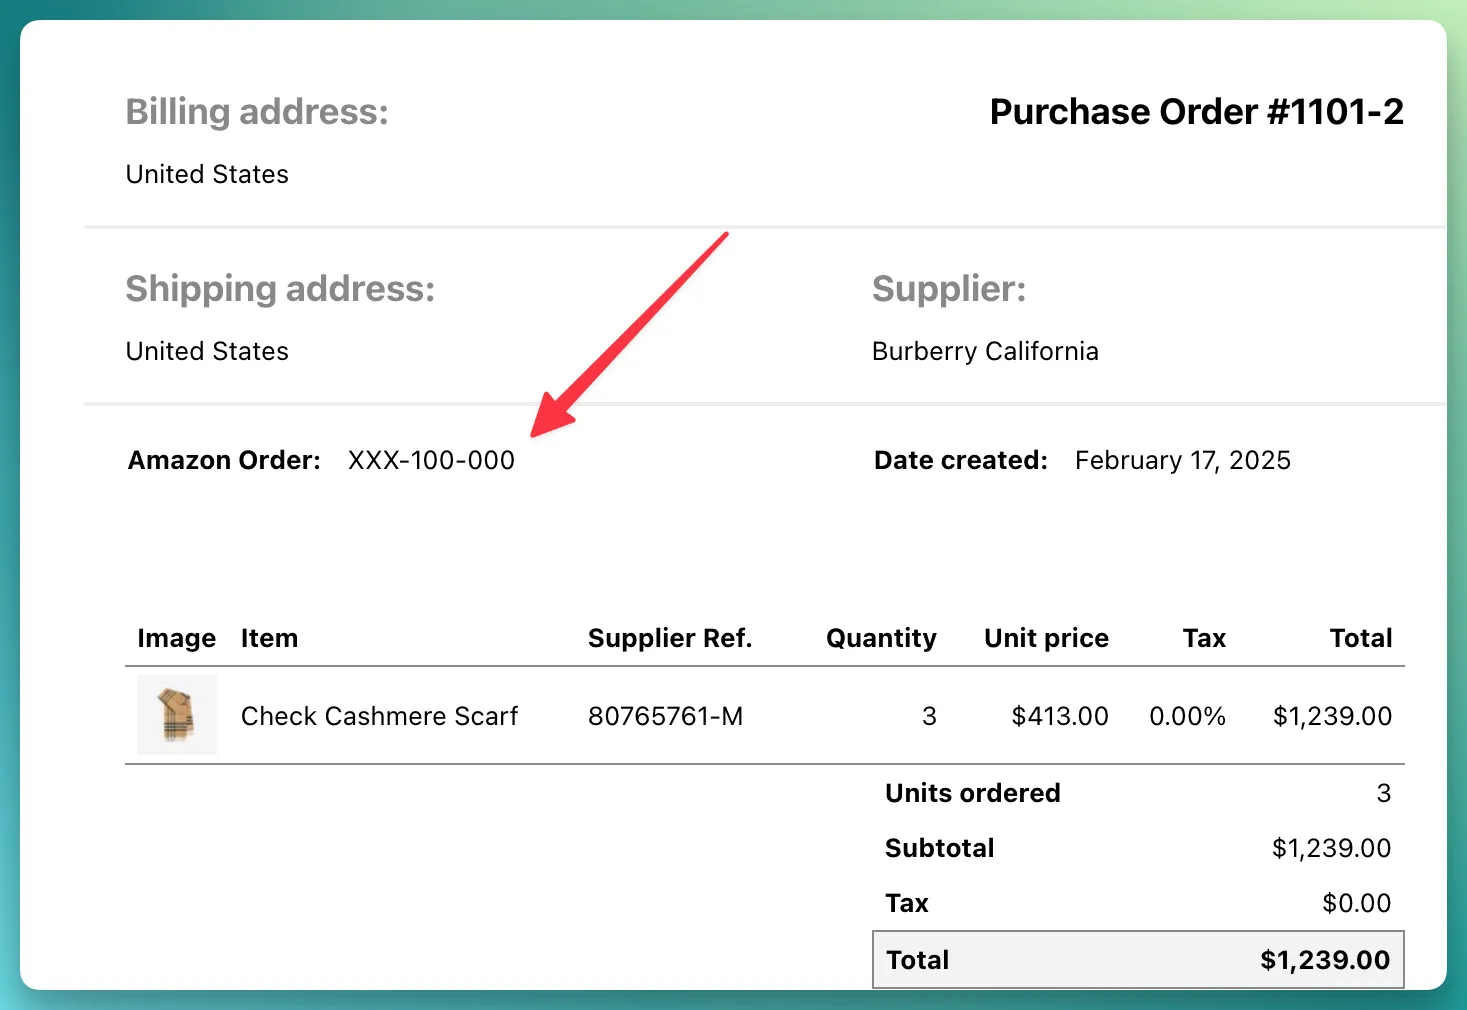
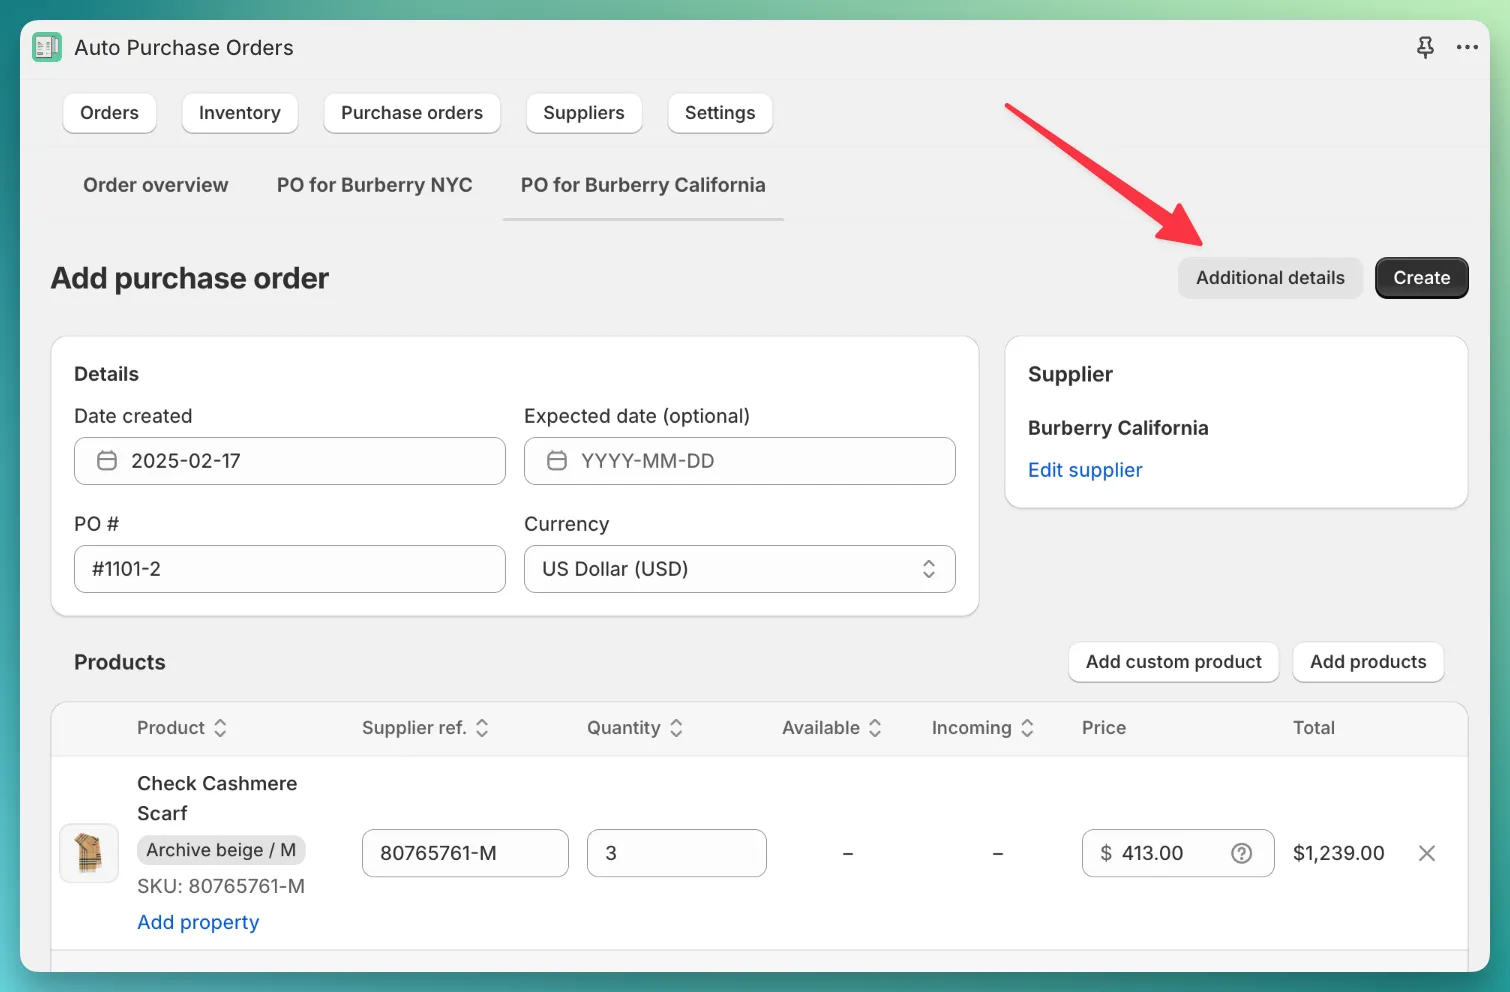
In the PO form, at the top right corner, you should see a new button labeled Additional details. If the app doesn’t find any custom attributes, this button will be hidden.
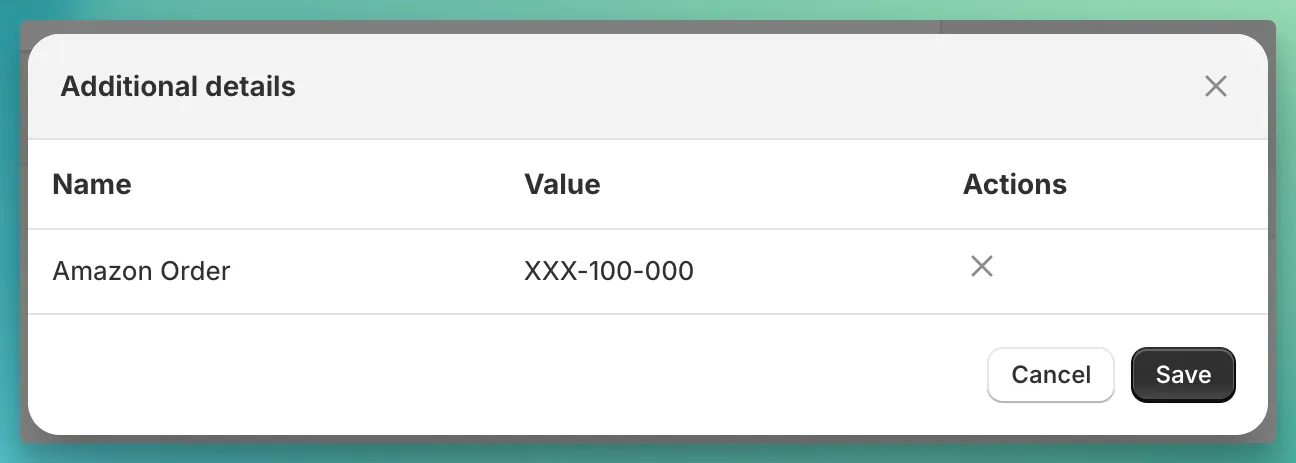
In the opened modal, the app will display all synced custom attributes.
By default, the app does not display custom attributes in the PO. You should enable this setting in the template editor. Open the app > Settings > Template Editor > Customise and find the section titled “Details”.